When talking about Gua Sha, we’re talking about scraping and pulling the skin.
Scraping and pulling?? A bit horrifying, right?
Keep reading to learn the benefits... And how to experience them yourself.
Gua Sha is a traditional Chinese practice of using a massage tool to apply pressure and scrape the skin to relieve pain and tension.
The treatment helps with stiffness, moves lymphatic fluids and allows the skin to function better.
You can read our previous blog entry on Gua Sha here.
How to perform Gua Sha Facial
Clean your face Before you start
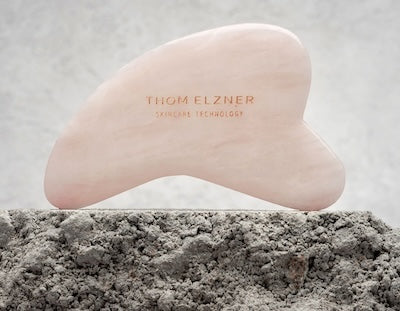
Apply your oil blend or Thom Elzner Daily Serum before doing a Gua Sha treatment – it is a significant step to get those smooth motions right, and to prevent the appearance of bruises.
Plus the massage motions will help your skin 'drink' and absorb your skin care products.
You can split your face in half using your nose as the divider and work on one side at a time to make sure you are not missing anything: It’s all about directionality.
A rule of thumb is to always scrape gently and to do it only UPWARDS and OUTWARDS (you will never want to scrape back and forth).
If it hurts, you’re doing it too hard. The pressure should be gentle, yet firm. Start from the neck. Move to the chin. Continue with the cheeks, the under-eye area, the brow area and the third eye (that's my favorite part).
Finish with upper forehead. And repeat the second side of the face.

Here is how you do it step-by-step:
(Starting with the right side)
-
Neck: With the large inner curve towards the neck, work the tool upward towards your chin – 5x
-
Under the chin: Use the large inner curve to sweep from the middle of the soft under-chin out to the bottom of your earlobe - 5x
-
Jawline: Using the small inward curved section, from the middle of the chin, under the lower lip, sweep out to the earlobe - 5x
-
Cheeks: Using the small outward curved section, sweep from the corner of the nose out to the middle of the ear - 5x. Switch to the big outward curved section and starting from the corner of the lips, sweep under the cheek bone towards the earlobe - 5x
-
Under-eye: Be especially light and slow here. With the small outward curved section of the tool, starting from the under-eye area, where "eye bags" would show up, sweep out towards the temple, all the way to the hairline - 5x
-
Brow area: Using the small outward curved section, sweep from the inner corner of the brow out to the temples. Avoid any pressure on the eye or eyelid itself and stay on the brow bone - 5x
-
Third eye (lower forehead): Use the large inner curve. Stroke from center of eyebrows up to hairline. This one is especially relaxing for the nervous system and great for insomnia and migraine, so do more strokes if it speaks to you! 5-10x
-
Upper forehead: With the large inner curve, starting from the center of the upper forehead, trace down the hairline, over the temple, then curve behind the ear, and down the side of the neck - 5x
-
Repeat the whole routine on the left side and remember, always UPWARDS and OUTWARDS!