How to Clean Your Beauty Blender and Makeup Brushes
Your makeup brushes and beauty blenders are a key part of your beauty routine. From foundation to eyeshadow, setting powder to lip color, brushes and sponges are used to perfect your look.
But how often do you clean your brushes? If you have to think about it, you’re probably not cleaning them often enough. Dirty brushes can harbor oil and bacteria, which can lead to clogged pores and breakouts.
Some makeup artists insist on cleaning your brushes after every use, but many professionals note that once a week is a more realistic and perfectly acceptable cleaning schedule.
But the question still remains: how do you clean your beauty blenders and makeup brushes? You can clean your brushes in a few easy steps:

Step 1: Rinse
Run your brushes under slightly warm water to clear out some of the makeup and oil. Gently massage the bristles of your brush or gently squeeze your beauty blender to saturate the entire applicator with water.

Step 2: Lather
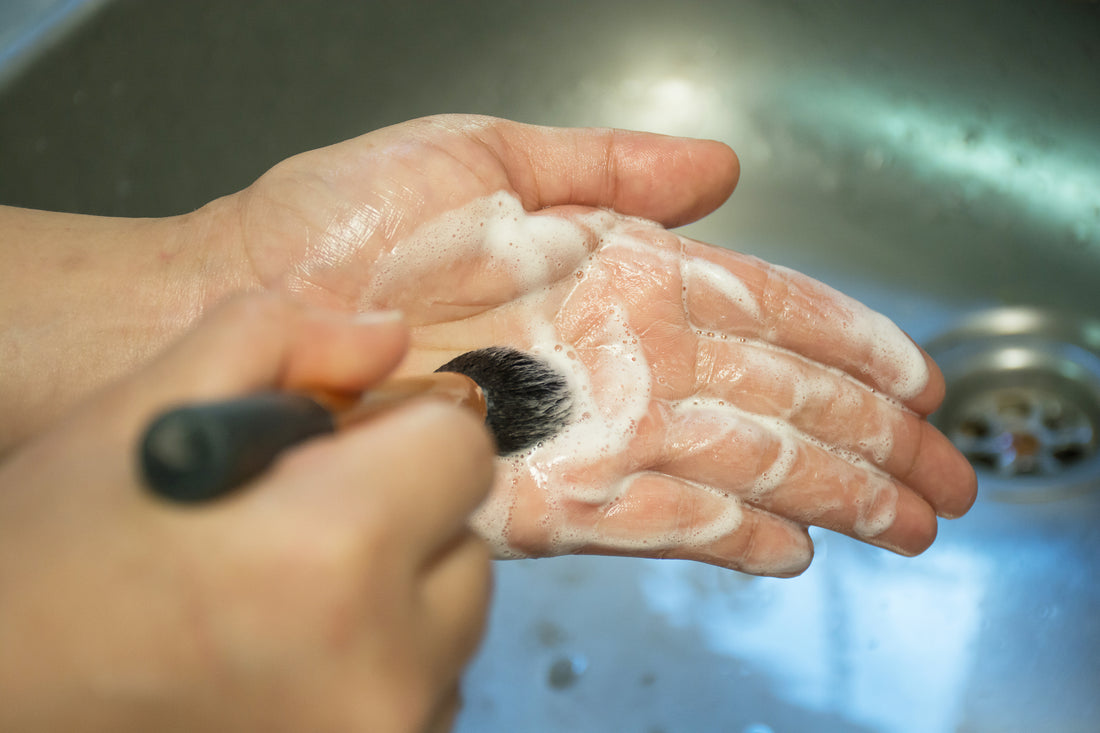
Add a pump soap onto the brush. There are a lot of options you can use as a cleanser at different price points. Many brush and beauty blender brands sell their own cleansing solutions, but some thrifty makeup artists note that your gentle face cleanser will work just as well. Even a pure castile soap like Dr. Bronner’s will give your brushes a gentle clean that won’t leave residue.
Be sure to keep soap and water away from the part of the bristles that are connected to the handle; soap can break down the glue that keeps the bristles intact.

Step 3: Scrub
Gently massage your brushes or beauty blender. You can use your hands to gently scrub out the makeup and oil, or you can buy a silicone scrubbing pad or glove.
If you use your hand, make sure your hand is clean as well, as you don’t want to transfer any germs from your hand back into your brush.
If you choose the silicone route, move your brush in a circular motion on the pad to scrub out everything. Once you’re done, make sure you clean the silicone pad or glove thoroughly and regularly disinfect it.

Step 4: Rinse
After you’ve scrubbed out all your residual makeup from your brushes, rinse them thoroughly again under lukewarm water until the water runs clear. If you’re cleaning a beauty blender, gently squeeze out the excess water.

Step 5: Dry
Squeeze out any remaining water from the brushes, and gently form them back into their original shape. Never dry your brushes with the bristles facing up—water will run down and could disintegrate the glue or grow mold at the base.
There are a number of drying racks you can buy that are especially made for makeup brushes, but beauty gurus have been hacking their own for years, with everything from pool noodles to folded towels. Whatever you use to dry your brushes, just make sure your bristles are facing down and not drying directly on a surface.
